(some cleanup) |
(adding line from CD Collection) Tag: sourceedit |
||
| (20 intermediate revisions by 6 users not shown) | |||
| Line 1: | Line 1: | ||
{{cleanup|Needs more information about Tagging in ''Saints Row''|2011-08-11}} |
{{cleanup|Needs more information about Tagging in ''Saints Row''|2011-08-11}} |
||
| − | [[File:UI_tag.png|thumb|250px|''Saints Row'' |
+ | [[File:UI_tag.png|thumb|250px|''Saints Row'' icon]] |
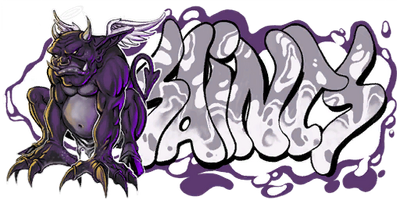
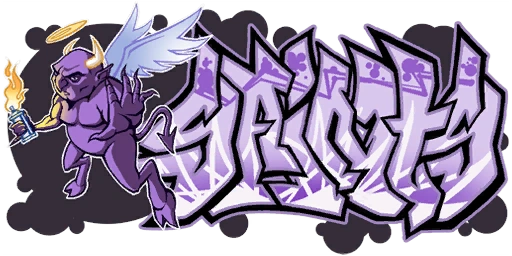
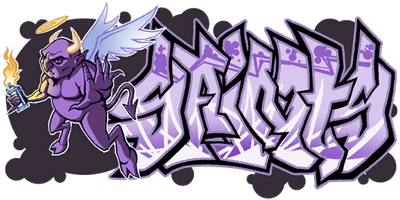
'''Tagging''' is an [[Activities in Saints Row|Activity]] in ''[[Saints Row]]'' and a [[Diversions in Saints Row 2|Diversion]] in ''[[Saints Row 2]]''. |
'''Tagging''' is an [[Activities in Saints Row|Activity]] in ''[[Saints Row]]'' and a [[Diversions in Saints Row 2|Diversion]] in ''[[Saints Row 2]]''. |
||
| + | {{quote|Hidden throughout the world are tag locations. Put up the Saints tag to earn respect.|Tagging introduction}} |
||
| − | == |
+ | ==Overview== |
[[File:SR2 tagging icon 2012-05-08 23-40-29.png|150px|thumb|''Saints Row 2'' marker]] |
[[File:SR2 tagging icon 2012-05-08 23-40-29.png|150px|thumb|''Saints Row 2'' marker]] |
||
| ⚫ | |||
| ⚫ | |||
| + | In both games, Tagging is started by standing in front of the Gang tag, and pressing the [[Controls|Action button]] when prompted. |
||
| ⚫ | There are gang tags around the city |
||
| − | In |
+ | In ''Saints Row'', tagging locations are marked with a small Spray Can logo in front of a large Gang Tag. Tagging is similar to [[Safecracking]], and there are a prompted sequence of [[Controls]]. |
| + | In ''Saints Row 2'', tagging locations are marked with a standard blue marker and a larger 2D Spray Can logo. An outline of the [[Gang Customization]] tag is displayed, and must be covered with paint with a "Press X to complete tag" prompt when it is sufficiently covered. The can must be periodically shaken, using the [[Controls|look control]]. |
||
| ⚫ | |||
| + | |||
| ⚫ | |||
| + | {{clear}} |
||
| + | |||
| + | ==Combinations== |
||
| + | There are 20 Tagging combinations in ''Saints Row''. All combinations are defined as having 8 actions, but the actual number of required actions varies depending on how many tags have been completed. |
||
| + | |||
| + | The first 13 tags have 3 actions. |
||
| + | |||
| + | {{more|text=Add tag counts for action increases}} |
||
| + | |||
| + | {| class="article-table sortable fullwidth" |
||
| + | !class="left"|1st |
||
| + | !class="left"|2nd |
||
| + | !class="left"|3rd |
||
| + | !class="left"|4th |
||
| + | !class="left"|5th |
||
| + | !class="left"|6th |
||
| + | !class="left"|7th |
||
| + | !class="left"|8th |
||
| + | |- |
||
| + | |Left |
||
| + | |Right |
||
| + | |[[File:360_x.png]] |
||
| + | |Quarter Circle{{br}}Counter-clockwise{{br}}Start: Down |
||
| + | |Left |
||
| + | |Full Circle{{br}}Clockwise{{br}}Start: Left |
||
| + | |[[File:360_a.png]] |
||
| + | |Half Circle{{br}}Clockwise{{br}}Start: Down |
||
| + | |- |
||
| + | |[[File:360_a.png]] |
||
| + | |[[File:360_b.png]] |
||
| + | |Up |
||
| + | |Quarter Circle{{br}}Clockwise{{br}}Start: Down |
||
| + | |[[File:360_y.png]] |
||
| + | |Quarter Circle{{br}}Clockwise{{br}}Start: Up |
||
| + | |Right |
||
| + | |Full Circle{{br}}Counter-clockwise{{br}}Start: Right |
||
| + | |- |
||
| + | |Left |
||
| + | |[[File:360_x.png]] |
||
| + | |Up |
||
| + | |Quarter Circle{{br}}Clockwise{{br}}Start: Left |
||
| + | |[[File:360_y.png]] |
||
| + | |Quarter Circle{{br}}Counter-clockwise{{br}}Start: Right |
||
| + | |[[File:360_b.png]] |
||
| + | |Quarter Circle{{br}}Clockwise{{br}}Start: Down |
||
| + | |- |
||
| + | |Left |
||
| + | |[[File:360_a.png]] |
||
| + | |[[File:360_b.png]] |
||
| + | |Full Circle{{br}}Counter-clockwise{{br}}Start: Right |
||
| + | |[[File:360_x.png]] |
||
| + | |Half Circle{{br}}Clockwise{{br}}Start: Left |
||
| + | |[[File:360_y.png]] |
||
| + | |Quarter Circle{{br}}Counter-clockwise{{br}}Start: Up |
||
| + | |- |
||
| + | |Up |
||
| + | |Down |
||
| + | |Left |
||
| + | |Half Circle{{br}}Clockwise{{br}}Start: Right |
||
| + | |Right |
||
| + | |Quarter Circle{{br}}Counter-clockwise{{br}}Start: Right |
||
| + | |Down |
||
| + | |Half Circle{{br}}Clockwise{{br}}Start: Down |
||
| + | |- |
||
| + | |Up |
||
| + | |[[File:360_a.png]] |
||
| + | |[[File:360_x.png]] |
||
| + | |Half Circle{{br}}Counter-clockwise{{br}}Start: Down |
||
| + | |[[File:360_b.png]] |
||
| + | |Half Circle{{br}}Clockwise{{br}}Start: Left |
||
| + | |[[File:360_b.png]] |
||
| + | |Quarter Circle{{br}}Counter-clockwise{{br}}Start: Right |
||
| + | |- |
||
| + | |Right |
||
| + | |[[File:360_y.png]] |
||
| + | |Left |
||
| + | |Half Circle{{br}}Counter-clockwise{{br}}Start: Right |
||
| + | |[[File:360_a.png]] |
||
| + | |Half Circle{{br}}Clockwise{{br}}Start: Down |
||
| + | |[[File:360_y.png]] |
||
| + | |Half Circle{{br}}Counter-clockwise{{br}}Start: Left |
||
| + | |- |
||
| + | |[[File:360_x.png]] |
||
| + | |[[File:360_a.png]] |
||
| + | |Up |
||
| + | |Quarter Circle{{br}}Clockwise{{br}}Start: Down |
||
| + | |[[File:360_b.png]] |
||
| + | |Half Circle{{br}}Counter-clockwise{{br}}Start: Up |
||
| + | |[[File:360_a.png]] |
||
| + | |Full Circle{{br}}Counter-clockwise{{br}}Start: Left |
||
| + | |- |
||
| + | |Down |
||
| + | |Down |
||
| + | |[[File:360_a.png]] |
||
| + | |Quarter Circle{{br}}Clockwise{{br}}Start: Left |
||
| + | |[[File:360_x.png]] |
||
| + | |Half Circle{{br}}Clockwise{{br}}Start: Right |
||
| + | |[[File:360_a.png]] |
||
| + | |Full Circle{{br}}Counter-clockwise{{br}}Start: Up |
||
| + | |- |
||
| + | |[[File:360_y.png]] |
||
| + | |Left |
||
| + | |[[File:360_a.png]] |
||
| + | |Full Circle{{br}}Counter-clockwise{{br}}Start: Down |
||
| + | |[[File:360_x.png]] |
||
| + | |Full Circle{{br}}Clockwise{{br}}Start: Left |
||
| + | |[[File:360_b.png]] |
||
| + | |Full Circle{{br}}Counter-clockwise{{br}}Start: Up |
||
| + | |- |
||
| + | |Up |
||
| + | |Down |
||
| + | |[[File:360_x.png]] |
||
| + | |Full Circle{{br}}Clockwise{{br}}Start: Right |
||
| + | |[[File:360_a.png]] |
||
| + | |Full Circle{{br}}Counter-clockwise{{br}}Start: Down |
||
| + | |Left |
||
| + | |Quarter Circle{{br}}Counter-clockwise{{br}}Start: Right |
||
| + | |- |
||
| + | |Right |
||
| + | |Left |
||
| + | |[[File:360_b.png]] |
||
| + | |Quarter Circle{{br}}Clockwise{{br}}Start: Down |
||
| + | |Right |
||
| + | |Quarter Circle{{br}}Counter-clockwise{{br}}Start: Left |
||
| + | |[[File:360_a.png]] |
||
| + | |Full Circle{{br}}Clockwise{{br}}Start: Up |
||
| + | |- |
||
| + | |Up |
||
| + | |Right |
||
| + | |Down |
||
| + | |Quarter Circle{{br}}Counter-clockwise{{br}}Start: Up |
||
| + | |[[File:360_a.png]] |
||
| + | |Half Circle{{br}}Clockwise{{br}}Start: Up |
||
| + | |[[File:360_b.png]] |
||
| + | |Quarter Circle{{br}}Counter-clockwise{{br}}Start: Left |
||
| + | |- |
||
| + | |Left |
||
| + | |Up |
||
| + | |[[File:360_y.png]] |
||
| + | |Full Circle{{br}}Counter-clockwise{{br}}Start: Down |
||
| + | |[[File:360_x.png]] |
||
| + | |Quarter Circle{{br}}Clockwise{{br}}Start: Left |
||
| + | |[[File:360_b.png]] |
||
| + | |Full Circle{{br}}Clockwise{{br}}Start: Up |
||
| + | |- |
||
| + | |Down |
||
| + | |Up |
||
| + | |Right |
||
| + | |Half Circle{{br}}Counter-clockwise{{br}}Start: Down |
||
| + | |Right |
||
| + | |Quarter Circle{{br}}Clockwise{{br}}Start: Up |
||
| + | |Up |
||
| + | |Full Circle{{br}}Counter-clockwise{{br}}Start: Right |
||
| + | |- |
||
| + | |[[File:360_x.png]] |
||
| + | |[[File:360_y.png]] |
||
| + | |Left |
||
| + | |Full Circle{{br}}Counter-clockwise{{br}}Start: Left |
||
| + | |[[File:360_a.png]] |
||
| + | |Quarter Circle{{br}}Clockwise{{br}}Start: Down |
||
| + | |Left |
||
| + | |Half Circle{{br}}Clockwise{{br}}Start: Up |
||
| + | |- |
||
| + | |Left |
||
| + | |Down |
||
| + | |Right |
||
| + | |Quarter Circle{{br}}Clockwise{{br}}Start: Right |
||
| + | |[[File:360_y.png]] |
||
| + | |Half Circle{{br}}Counter-clockwise{{br}}Start: Left |
||
| + | |[[File:360_x.png]] |
||
| + | |Quarter Circle{{br}}Clockwise{{br}}Start: Down |
||
| + | |- |
||
| + | |[[File:360_b.png]] |
||
| + | |[[File:360_x.png]] |
||
| + | |[[File:360_a.png]] |
||
| + | |Half Circle{{br}}Clockwise{{br}}Start: Right |
||
| + | |Up |
||
| + | |Quarter Circle{{br}}Counter-clockwise{{br}}Start: Right |
||
| + | |Left |
||
| + | |Half Circle{{br}}Clockwise{{br}}Start: Up |
||
| + | |- |
||
| + | |[[File:360_y.png]] |
||
| + | |Up |
||
| + | |[[File:360_b.png]] |
||
| + | |Full Circle{{br}}Counter-clockwise{{br}}Start: Up |
||
| + | |Right |
||
| + | |Quarter Circle{{br}}Counter-clockwise{{br}}Start: Left |
||
| + | |[[File:360_a.png]] |
||
| + | |Full Circle{{br}}Clockwise{{br}}Start: Up |
||
| + | |- |
||
| + | |[[File:360_a.png]] |
||
| + | |Left |
||
| + | |Up |
||
| + | |Quarter Circle{{br}}Counter-clockwise{{br}}Start: Left |
||
| + | |[[File:360_x.png]] |
||
| + | |Half Circle{{br}}Counter-clockwise{{br}}Start: Right |
||
| + | |Right |
||
| + | |Half Circle{{br}}Clockwise{{br}}Start: Left |
||
| + | |} |
||
==Rewards== |
==Rewards== |
||
| + | {{gallery|type=float|{{#!: |
||
| + | Saints Row unlockable - Abilities - Stamina - decreases slower.png|Stamina - decreases slower |
||
| + | Saints Row unlockable - Abilities - Stamina - Infinite.png|Stamina - Infinite |
||
| + | }} }} |
||
*[[Respect]] is earned for each Tag sprayed. |
*[[Respect]] is earned for each Tag sprayed. |
||
*Tagging is worth 5% [[Completion]], so each tag is worth 1/15% each in ''Saints Row'', and 1/10% each in ''Saints Row 2''. |
*Tagging is worth 5% [[Completion]], so each tag is worth 1/15% each in ''Saints Row'', and 1/10% each in ''Saints Row 2''. |
||
*''Saints Row'': "10 Getting Up" [[Achievements in Saints Row|Achievement]] for completing all 75 tags. |
*''Saints Row'': "10 Getting Up" [[Achievements in Saints Row|Achievement]] for completing all 75 tags. |
||
*''Saints Row 2'': "All-City" [[Achievements in Saints Row 2|Achievement]] for completing all 50 tags. |
*''Saints Row 2'': "All-City" [[Achievements in Saints Row 2|Achievement]] for completing all 50 tags. |
||
| − | *In ''Saints Row'', completing 25 tags |
+ | *In ''Saints Row'', completing each gang's 25 tags makes the [[Sprint]] Bar decrease 10% slower, with Unlimited Sprint awarded for spraying all 75 tags. |
==Trivia== |
==Trivia== |
||
*In ''Saints Row 2'', CD collection and Tagging do not have a map markers and both appear in the "Diversions - Collection" menu. They are the only [[Activities and Diversions in Saints Row 2|Diversions]] required for 100% completion. |
*In ''Saints Row 2'', CD collection and Tagging do not have a map markers and both appear in the "Diversions - Collection" menu. They are the only [[Activities and Diversions in Saints Row 2|Diversions]] required for 100% completion. |
||
| − | * |
+ | *There are ''Saints Row'' tags in ''Saints Row 2'', such as within the [[Stilwater Penitentiary (building)|Stilwater Penitentiary]] exercise yard. |
*Tagging does not appear in ''[[Saints Row: The Third]]'' due to the fact that there are no tags to cover as the enemy gangs are not street gangs and do not tag their turf. |
*Tagging does not appear in ''[[Saints Row: The Third]]'' due to the fact that there are no tags to cover as the enemy gangs are not street gangs and do not tag their turf. |
||
| + | **''[[Saints Row: The Third]]'' and ''[[Saints Row IV]]'' have other [[collectibles]] which count towards 100% completion. |
||
| − | *The Tagging diversion in ''Saints Row'' is probably based on the way tagging works on ''{{wp|Jet Set Radio}}'' for {{wp|Dreamcast}}.{{fact|Tagging works differently in Saints Row and Saints Row 2, so the game must be specified.|which game?}} |
||
| ⚫ | |||
==Gallery== |
==Gallery== |
||
| − | {{ |
+ | {{gallery|{{#!: |
| − | + | Saints Row precise tag map.png|Tagging spots in ''Saints Row'' |
|
| − | + | Map SR2 Tags.png|Tagging spots in ''Saints Row 2'' |
|
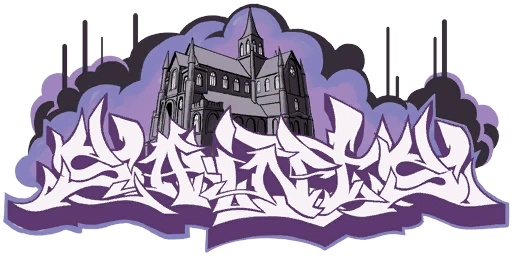
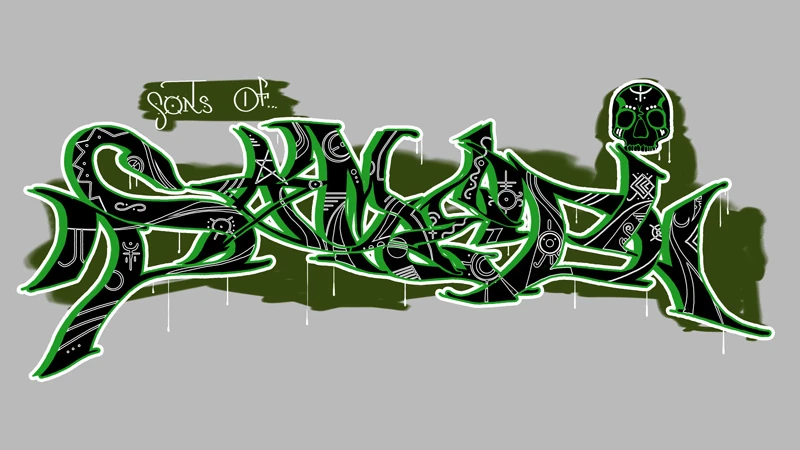
Graffiti SR1 Carnales.png|''Saints Row'' - [[Los Carnales]] Tag |
Graffiti SR1 Carnales.png|''Saints Row'' - [[Los Carnales]] Tag |
||
Graffiti SR1 Rollerz.png|''Saints Row'' - [[Westside Rollerz]] Tag |
Graffiti SR1 Rollerz.png|''Saints Row'' - [[Westside Rollerz]] Tag |
||
Graffiti SR1 Vice Kings.png|''Saints Row'' - [[Vice Kings]] Tag |
Graffiti SR1 Vice Kings.png|''Saints Row'' - [[Vice Kings]] Tag |
||
Graffiti SR1 Saints.png|''Saints Row'' - Saints Tag |
Graffiti SR1 Saints.png|''Saints Row'' - Saints Tag |
||
| − | + | tag saints01 geom tag saints01 geom.png|''Saints Row 2'' Tag 1 |
|
| − | + | tag saints02 geom tag saints02 geom.png|''Saints Row 2'' Tag 2 |
|
| − | + | tag saints03 geom tag saints03 geom.png|''Saints Row 2'' Tag 3 |
|
| − | + | tag saints04 geom tag saints04 geom.png|''Saints Row 2'' Tag 4 |
|
| − | + | tag saints05 geom tag saints05 geom.png|''Saints Row 2'' Tag 5 |
|
| − | + | tag saints06 geom tag saints06 geom.png|''Saints Row 2'' Tag 6 |
|
| − | + | tag saints07 geom tag saints07 geom.png|''Saints Row 2'' Tag 7 |
|
| − | + | tag saints08 geom tag saints08 geom.png|''Saints Row 2'' Tag 9 |
|
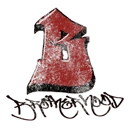
| − | + | sr2 alwaysload user graf brthrhd01.png|''Saints Row 2'' Brotherhood Tag 1 |
|
| − | + | sr2 alwaysload user graf brthrhd02.png|''Saints Row 2'' Brotherhood Tag 2 |
|
| − | + | sr2 alwaysload user graf brthrhd03.png|''Saints Row 2'' Brotherhood Tag 3 |
|
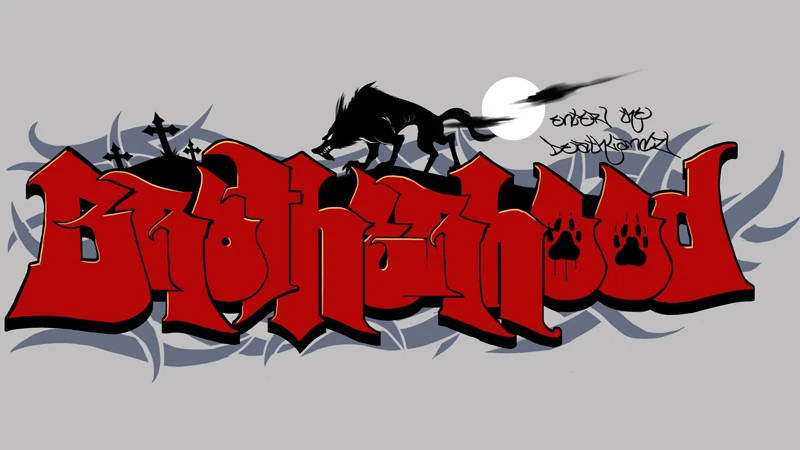
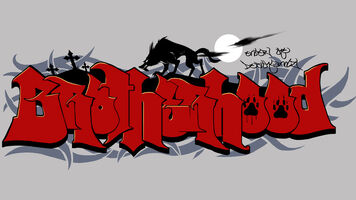
| − | + | Brotherhood graffiti.jpg|''Saints Row 2'' Brotherhood Graffiti |
|
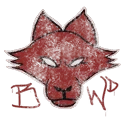
| − | + | sr2 alwaysload user graf ronin01.png|''Saints Row 2'' Ronin Tag 1 |
|
| − | + | sr2 alwaysload user graf ronin02.png|''Saints Row 2'' Ronin Tag 2 |
|
| − | + | sr2 alwaysload user graf ronin03.png|''Saints Row 2'' Ronin Tag 3 |
|
| − | Ronin |
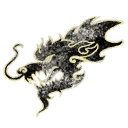
+ | Ronin graffiti with dragon and stylised logo.jpg|''Saints Row 2'' Ronin graffiti |
| − | + | sr2 alwaysload user graf sos01.png|''Saints Row 2'' Samedi Tag 1 |
|
| − | + | sr2 alwaysload user graf sos02.png|''Saints Row 2'' Samedi Tag 2 |
|
| − | + | sr2 alwaysload user graf sos03.png|''Saints Row 2'' Samedi Tag 3 |
|
| − | + | Samedi Graffiti02.jpg|''Saints Row 2'' Samedi Graffiti |
|
| − | + | sr2 alwaysload user graf saints01.png|''Saints Row 2'' Saints Old Tag 1 |
|
| − | + | sr2 alwaysload user graf saints02.png|''Saints Row 2'' Saints Old Tag 2 |
|
| − | + | sr2 alwaysload user graf saints03.png|''Saints Row 2'' Saints Old Tag 3 |
|
| − | + | npc s pimpho fem lt cmmdx wsaints01 d.png|''Saints Row 2'' Saints Old Tag 4 |
|
| − | + | Random Saints Graffiti in Saints Row 2.png|Graffiti on a building |
|
| − | + | Tagging in Saints Row - button combos.png|Tagging in ''Saints Row'' - button combos |
|
| − | + | Tagging in Saints Row - complete.png|Tagging in ''Saints Row'' - Complete |
|
| − | + | Tagging in Saints Row - icon closeup.png|Tagging in ''Saints Row'' - icon closeup |
|
| − | + | Tagging in Saints Row - Press Y.png|Tagging in ''Saints Row'' - Press Y |
|
| − | }}}} |
+ | }} }} |
| + | |||
| + | ==References== |
||
| + | {{reflist}} <!-- Do not manually list references here. See http://saintsrow.wikia.com/Help:Cite --> |
||
| − | {{ |
+ | {{Activities and Diversions}} |
| + | <!-- [[Help:Interlanguage_links]] --> |
||
| − | <!--Interwiki links--> |
||
[[de:Markieren]] |
[[de:Markieren]] |
||
[[Category:Activities in Saints Row]] |
[[Category:Activities in Saints Row]] |
||
Revision as of 14:52, 24 August 2017

Please help Saints Row Wiki by editing the article or discuss this issue on the talk page

Saints Row icon
Tagging is an Activity in Saints Row and a Diversion in Saints Row 2.
- Hidden throughout the world are tag locations. Put up the Saints tag to earn respect.
- — Tagging introduction
Overview
Saints Row 2 marker
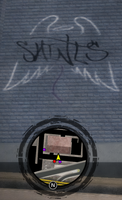
There are gang tags around the city which can be sprayed over with the 3rd Street Saints tag. There are 75 Tagging locations in Saints Row, and 50 locations in Saints Row 2.
In both games, Tagging is started by standing in front of the Gang tag, and pressing the Action button when prompted.
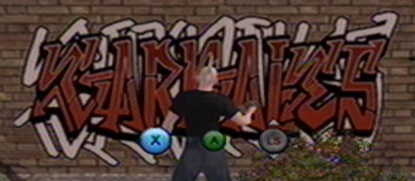
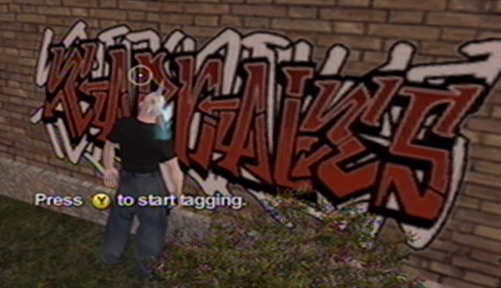
In Saints Row, tagging locations are marked with a small Spray Can logo in front of a large Gang Tag. Tagging is similar to Safecracking, and there are a prompted sequence of Controls.
In Saints Row 2, tagging locations are marked with a standard blue marker and a larger 2D Spray Can logo. An outline of the Gang Customization tag is displayed, and must be covered with paint with a "Press X to complete tag" prompt when it is sufficiently covered. The can must be periodically shaken, using the look control.
If the Neighborhood the tag is in belongs to a rival gang, gang Notoriety slowly builds up while spraying it. If the Neighborhood doesn't belong to any gang, police Notoriety slowly builds up.
Combinations
There are 20 Tagging combinations in Saints Row. All combinations are defined as having 8 actions, but the actual number of required actions varies depending on how many tags have been completed.
The first 13 tags have 3 actions.
Template:More
| 1st | 2nd | 3rd | 4th | 5th | 6th | 7th | 8th |
|---|---|---|---|---|---|---|---|
| Left | Right | Quarter CircleTemplate:BrCounter-clockwiseTemplate:BrStart: Down | Left | Full CircleTemplate:BrClockwiseTemplate:BrStart: Left | Half CircleTemplate:BrClockwiseTemplate:BrStart: Down | ||
| Up | Quarter CircleTemplate:BrClockwiseTemplate:BrStart: Down | Quarter CircleTemplate:BrClockwiseTemplate:BrStart: Up | Right | Full CircleTemplate:BrCounter-clockwiseTemplate:BrStart: Right | |||
| Left | Up | Quarter CircleTemplate:BrClockwiseTemplate:BrStart: Left | Quarter CircleTemplate:BrCounter-clockwiseTemplate:BrStart: Right | Quarter CircleTemplate:BrClockwiseTemplate:BrStart: Down | |||
| Left | Full CircleTemplate:BrCounter-clockwiseTemplate:BrStart: Right | Half CircleTemplate:BrClockwiseTemplate:BrStart: Left | Quarter CircleTemplate:BrCounter-clockwiseTemplate:BrStart: Up | ||||
| Up | Down | Left | Half CircleTemplate:BrClockwiseTemplate:BrStart: Right | Right | Quarter CircleTemplate:BrCounter-clockwiseTemplate:BrStart: Right | Down | Half CircleTemplate:BrClockwiseTemplate:BrStart: Down |
| Up | Half CircleTemplate:BrCounter-clockwiseTemplate:BrStart: Down | Half CircleTemplate:BrClockwiseTemplate:BrStart: Left | Quarter CircleTemplate:BrCounter-clockwiseTemplate:BrStart: Right | ||||
| Right | Left | Half CircleTemplate:BrCounter-clockwiseTemplate:BrStart: Right | Half CircleTemplate:BrClockwiseTemplate:BrStart: Down | Half CircleTemplate:BrCounter-clockwiseTemplate:BrStart: Left | |||
| Up | Quarter CircleTemplate:BrClockwiseTemplate:BrStart: Down | Half CircleTemplate:BrCounter-clockwiseTemplate:BrStart: Up | Full CircleTemplate:BrCounter-clockwiseTemplate:BrStart: Left | ||||
| Down | Down | Quarter CircleTemplate:BrClockwiseTemplate:BrStart: Left | Half CircleTemplate:BrClockwiseTemplate:BrStart: Right | Full CircleTemplate:BrCounter-clockwiseTemplate:BrStart: Up | |||
| Left | Full CircleTemplate:BrCounter-clockwiseTemplate:BrStart: Down | Full CircleTemplate:BrClockwiseTemplate:BrStart: Left | Full CircleTemplate:BrCounter-clockwiseTemplate:BrStart: Up | ||||
| Up | Down | Full CircleTemplate:BrClockwiseTemplate:BrStart: Right | Full CircleTemplate:BrCounter-clockwiseTemplate:BrStart: Down | Left | Quarter CircleTemplate:BrCounter-clockwiseTemplate:BrStart: Right | ||
| Right | Left | Quarter CircleTemplate:BrClockwiseTemplate:BrStart: Down | Right | Quarter CircleTemplate:BrCounter-clockwiseTemplate:BrStart: Left | Full CircleTemplate:BrClockwiseTemplate:BrStart: Up | ||
| Up | Right | Down | Quarter CircleTemplate:BrCounter-clockwiseTemplate:BrStart: Up | Half CircleTemplate:BrClockwiseTemplate:BrStart: Up | Quarter CircleTemplate:BrCounter-clockwiseTemplate:BrStart: Left | ||
| Left | Up | Full CircleTemplate:BrCounter-clockwiseTemplate:BrStart: Down | Quarter CircleTemplate:BrClockwiseTemplate:BrStart: Left | Full CircleTemplate:BrClockwiseTemplate:BrStart: Up | |||
| Down | Up | Right | Half CircleTemplate:BrCounter-clockwiseTemplate:BrStart: Down | Right | Quarter CircleTemplate:BrClockwiseTemplate:BrStart: Up | Up | Full CircleTemplate:BrCounter-clockwiseTemplate:BrStart: Right |
| Left | Full CircleTemplate:BrCounter-clockwiseTemplate:BrStart: Left | Quarter CircleTemplate:BrClockwiseTemplate:BrStart: Down | Left | Half CircleTemplate:BrClockwiseTemplate:BrStart: Up | |||
| Left | Down | Right | Quarter CircleTemplate:BrClockwiseTemplate:BrStart: Right | Half CircleTemplate:BrCounter-clockwiseTemplate:BrStart: Left | Quarter CircleTemplate:BrClockwiseTemplate:BrStart: Down | ||
| Half CircleTemplate:BrClockwiseTemplate:BrStart: Right | Up | Quarter CircleTemplate:BrCounter-clockwiseTemplate:BrStart: Right | Left | Half CircleTemplate:BrClockwiseTemplate:BrStart: Up | |||
| Up | Full CircleTemplate:BrCounter-clockwiseTemplate:BrStart: Up | Right | Quarter CircleTemplate:BrCounter-clockwiseTemplate:BrStart: Left | Full CircleTemplate:BrClockwiseTemplate:BrStart: Up | |||
| Left | Up | Quarter CircleTemplate:BrCounter-clockwiseTemplate:BrStart: Left | Half CircleTemplate:BrCounter-clockwiseTemplate:BrStart: Right | Right | Half CircleTemplate:BrClockwiseTemplate:BrStart: Left |
Rewards


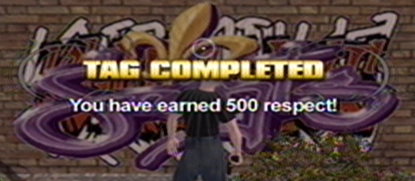
- Respect is earned for each Tag sprayed.
- Tagging is worth 5% Completion, so each tag is worth 1/15% each in Saints Row, and 1/10% each in Saints Row 2.
- Saints Row: "10 Getting Up" Achievement for completing all 75 tags.
- Saints Row 2: "All-City" Achievement for completing all 50 tags.
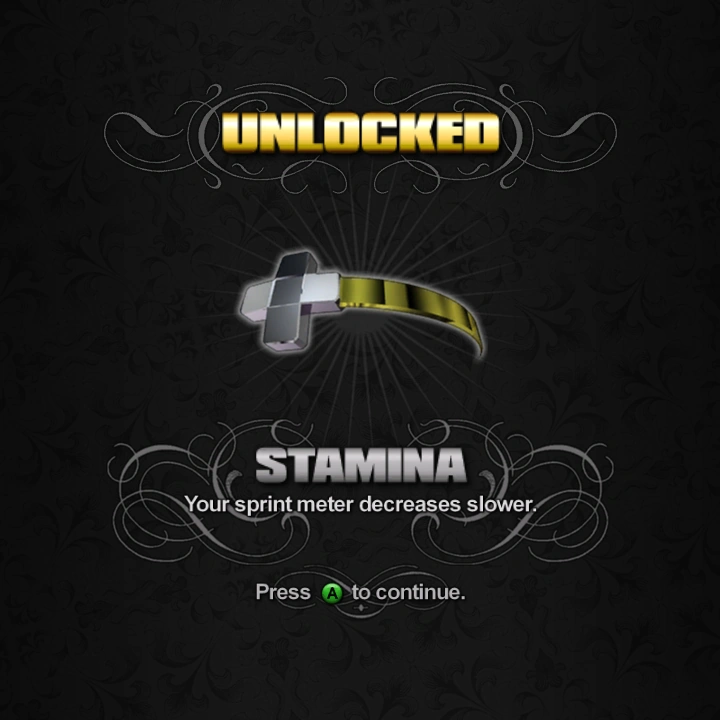
- In Saints Row, completing each gang's 25 tags makes the Sprint Bar decrease 10% slower, with Unlimited Sprint awarded for spraying all 75 tags.
Trivia
- In Saints Row 2, CD collection and Tagging do not have a map markers and both appear in the "Diversions - Collection" menu. They are the only Diversions required for 100% completion.
- There are Saints Row tags in Saints Row 2, such as within the Stilwater Penitentiary exercise yard.
- Tagging does not appear in Saints Row: The Third due to the fact that there are no tags to cover as the enemy gangs are not street gangs and do not tag their turf.
- Saints Row: The Third and Saints Row IV have other collectibles which count towards 100% completion.
- In real life, as well as in game, Tagging is a form of graffiti that are used by some gangs to "mark their territory".
Gallery


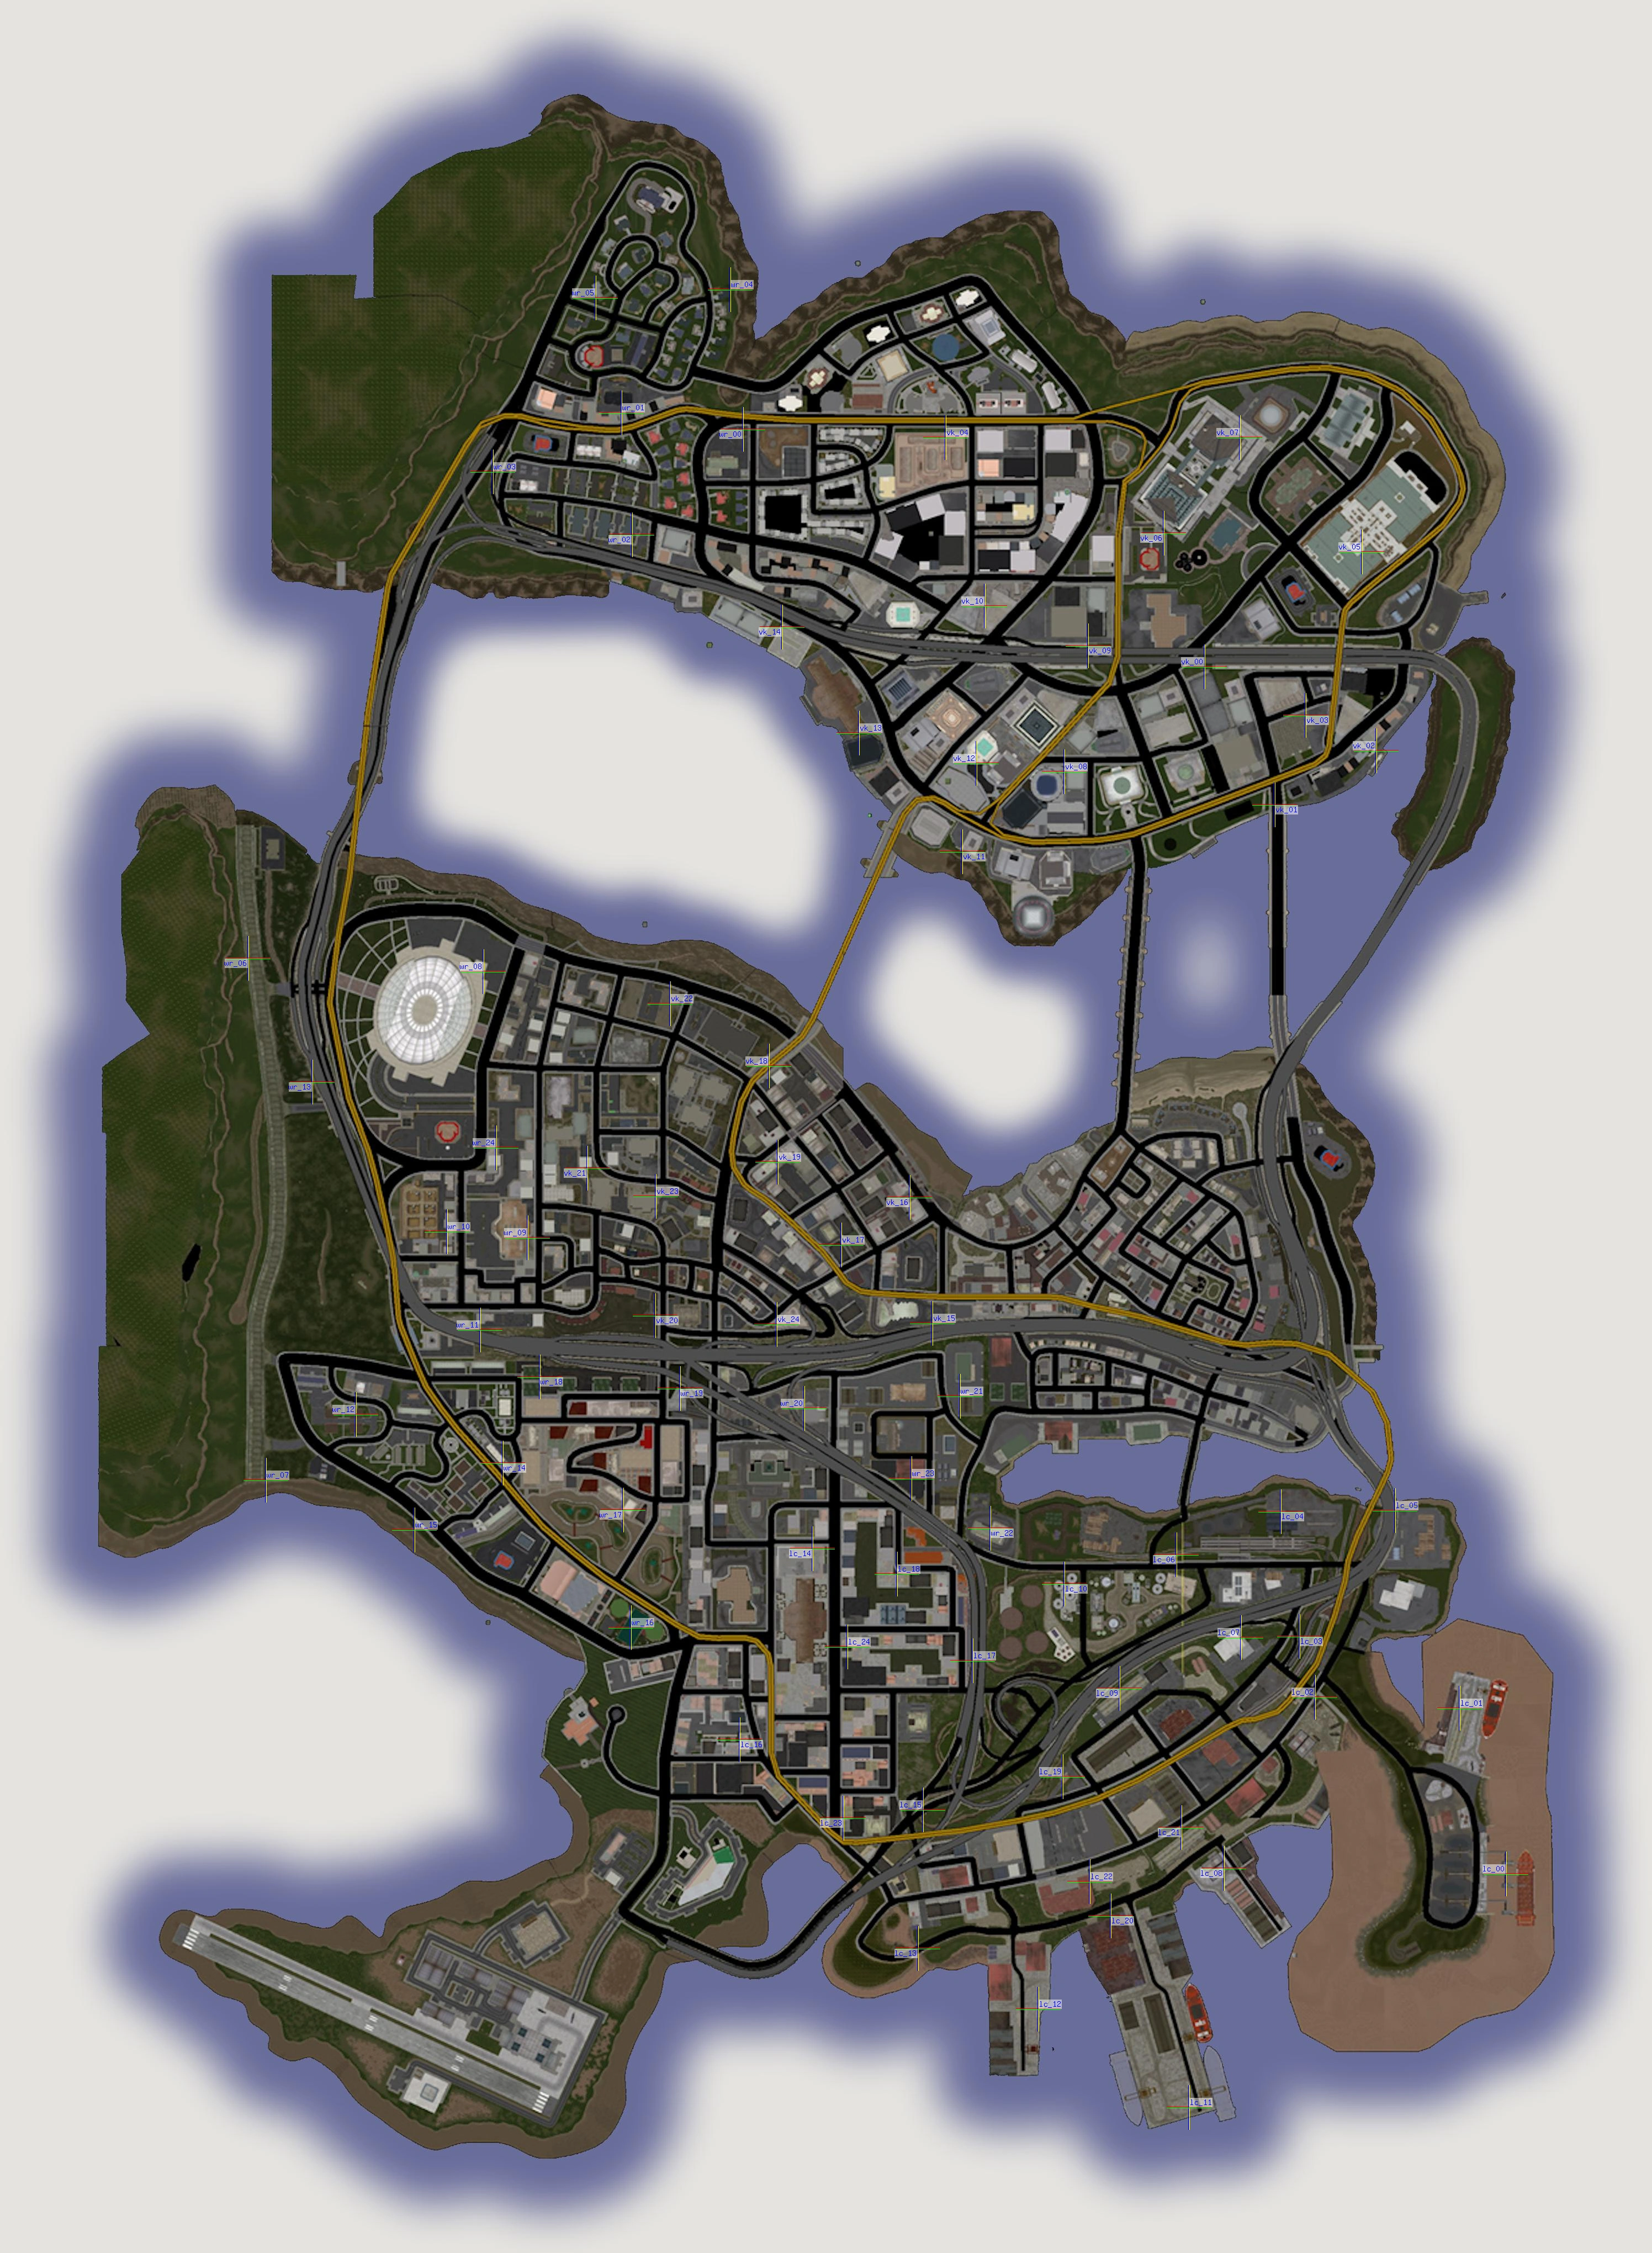
Tagging spots in Saints Row
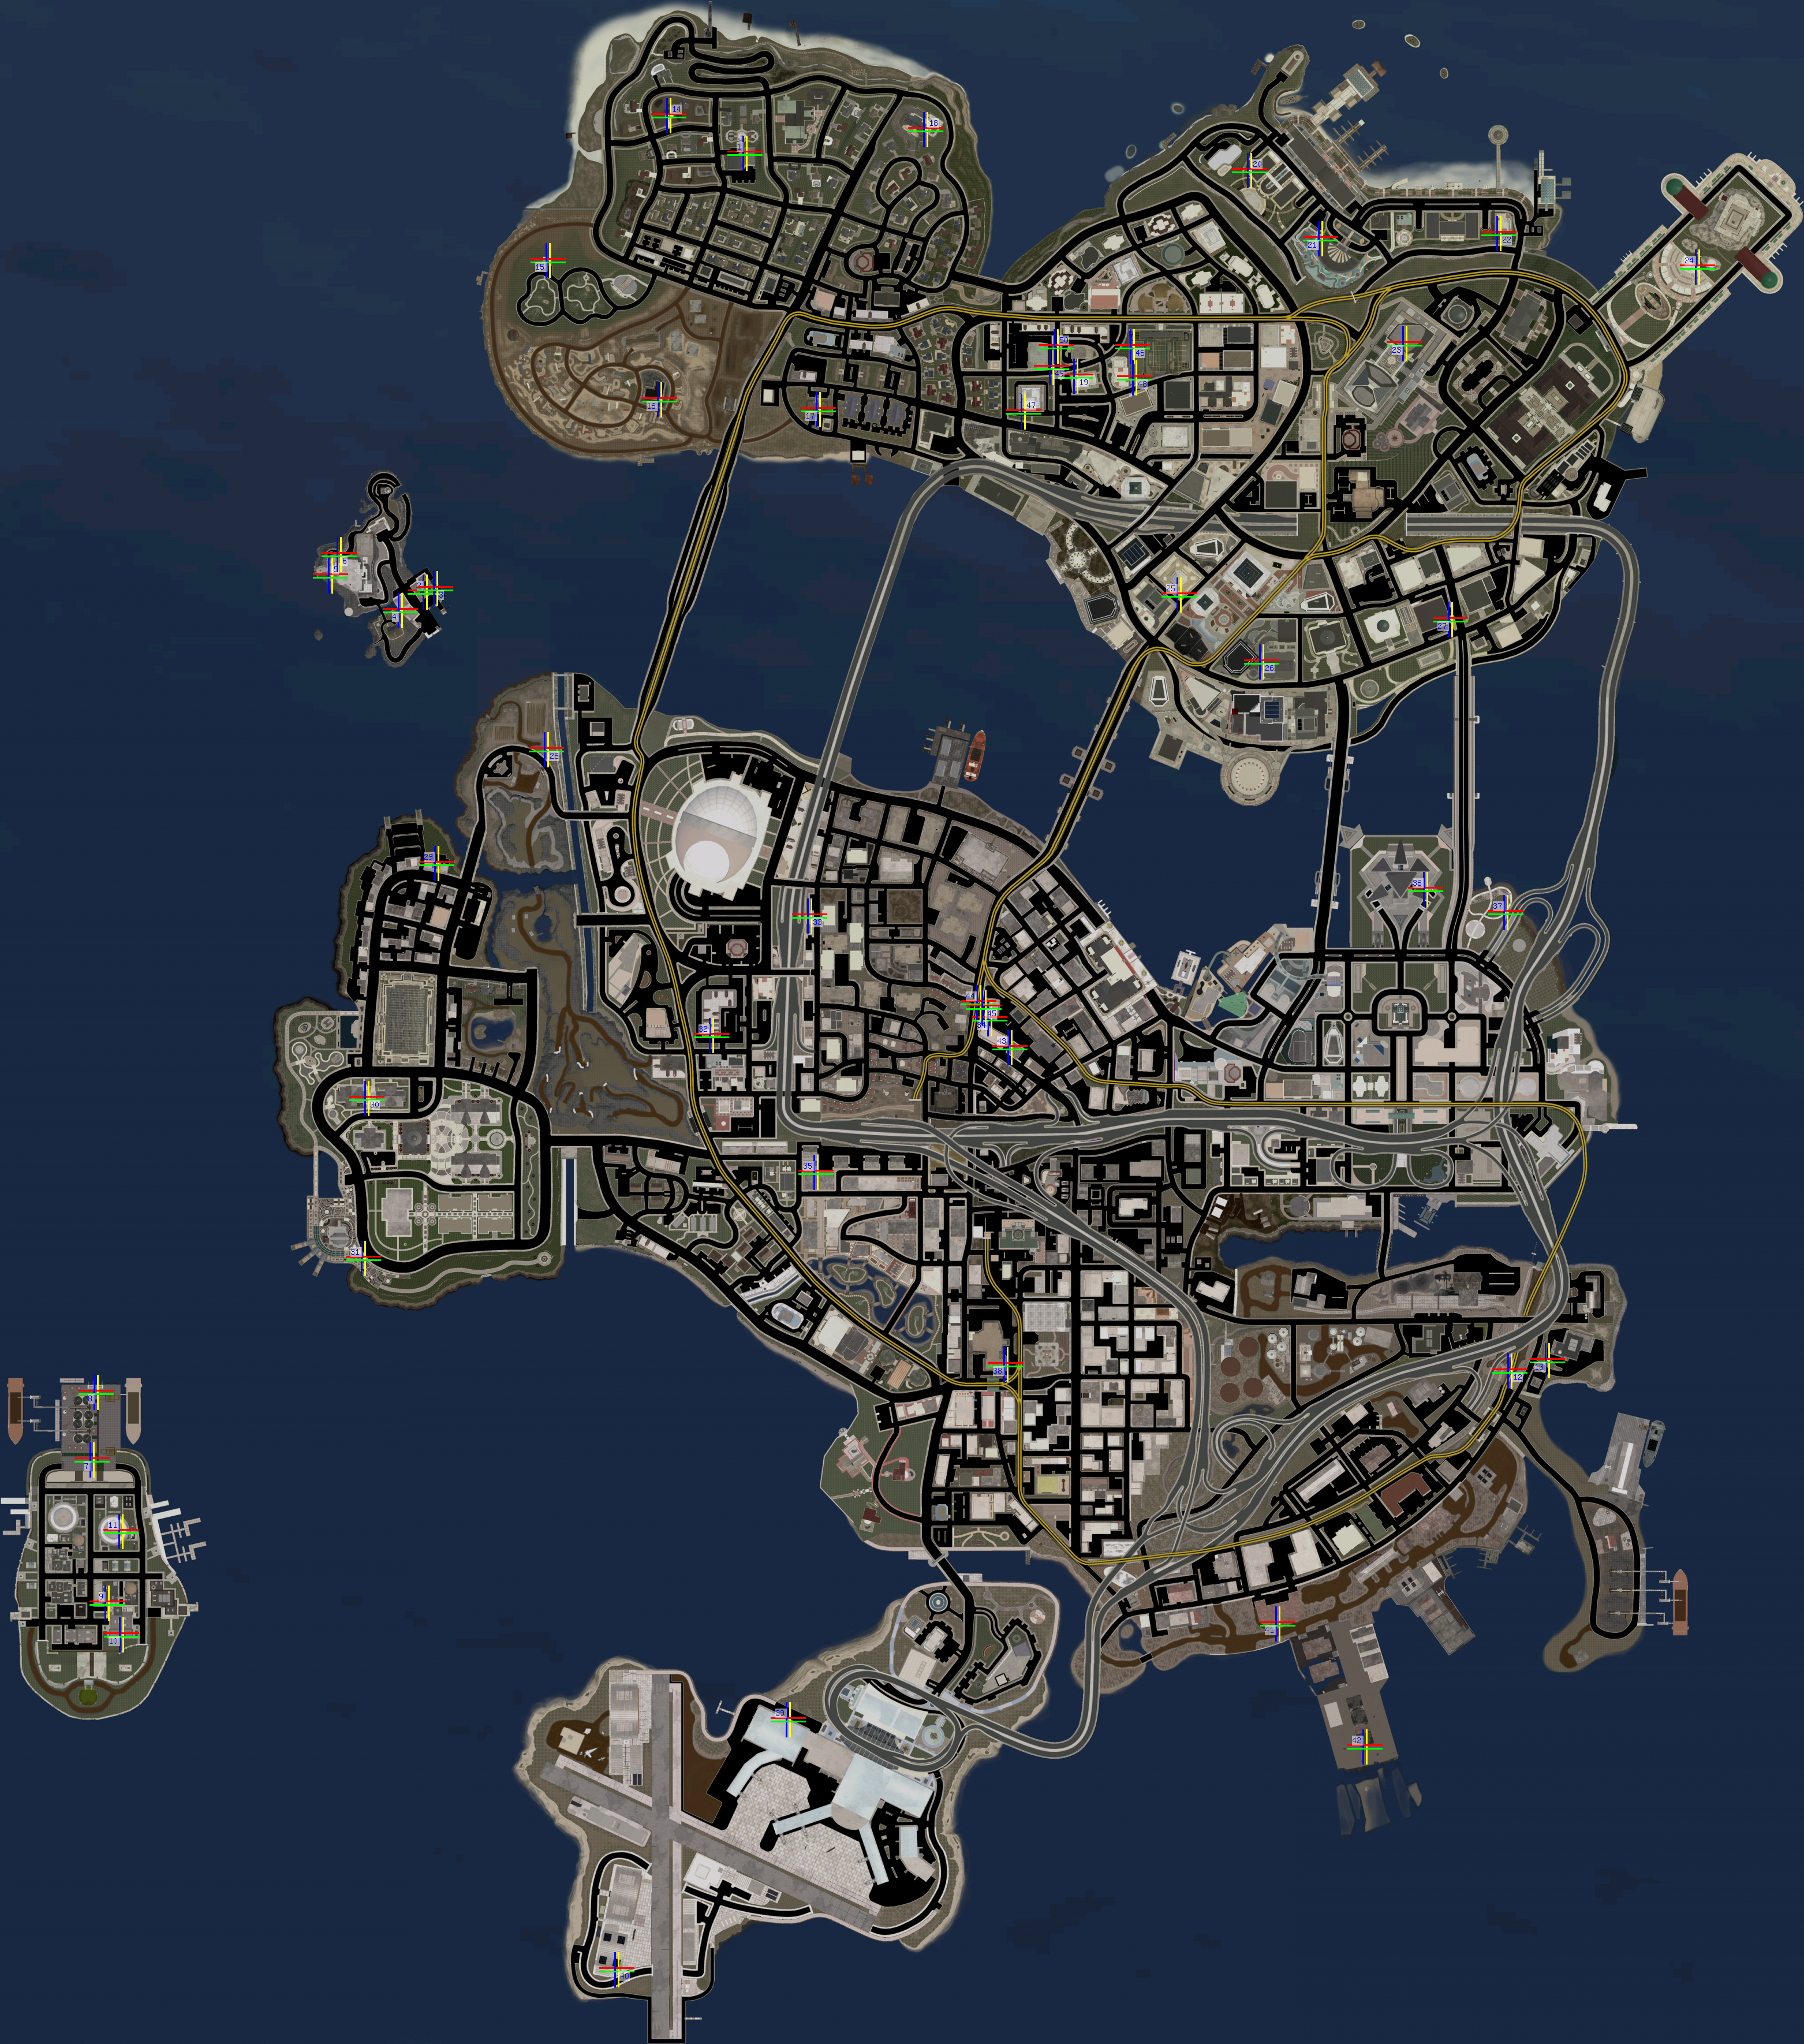
Tagging spots in Saints Row 2

Saints Row - Los Carnales Tag

Saints Row - Westside Rollerz Tag

Saints Row - Vice Kings Tag

Saints Row - Saints Tag

Saints Row 2 Tag 1


Saints Row 2 Tag 2

Saints Row 2 Tag 3
Saints Row 2 Tag 4


Saints Row 2 Tag 5


Saints Row 2 Tag 6

Saints Row 2 Tag 7

Saints Row 2 Tag 9
Saints Row 2 Brotherhood Tag 1
Saints Row 2 Brotherhood Tag 2
Saints Row 2 Brotherhood Tag 3
Saints Row 2 Brotherhood Graffiti
Saints Row 2 Ronin Tag 1

Saints Row 2 Ronin Tag 2
Saints Row 2 Ronin Tag 3
Saints Row 2 Ronin graffiti

Saints Row 2 Samedi Tag 1
Saints Row 2 Samedi Tag 2

Saints Row 2 Samedi Tag 3

Saints Row 2 Samedi Graffiti

Saints Row 2 Saints Old Tag 1

Saints Row 2 Saints Old Tag 2
Saints Row 2 Saints Old Tag 3

Saints Row 2 Saints Old Tag 4

Graffiti on a building
Tagging in Saints Row - button combos
Tagging in Saints Row - Complete
Tagging in Saints Row - icon closeup

Tagging in Saints Row - Press Y
References
Template:Activities and Diversions